
I’ve had a few requests to do a tutorial on how I do French Seams on my scrappy snappy bags.
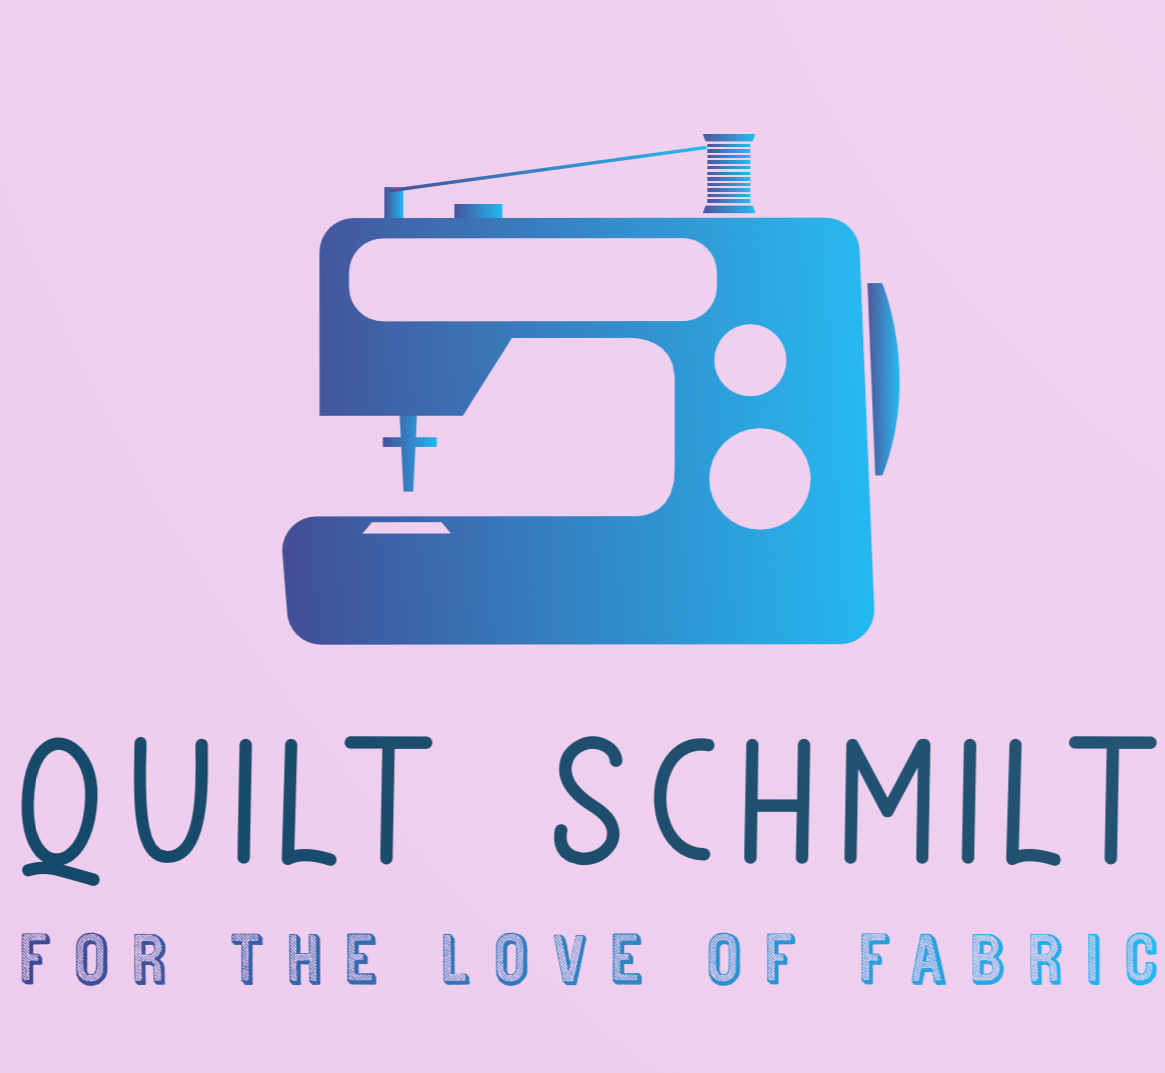
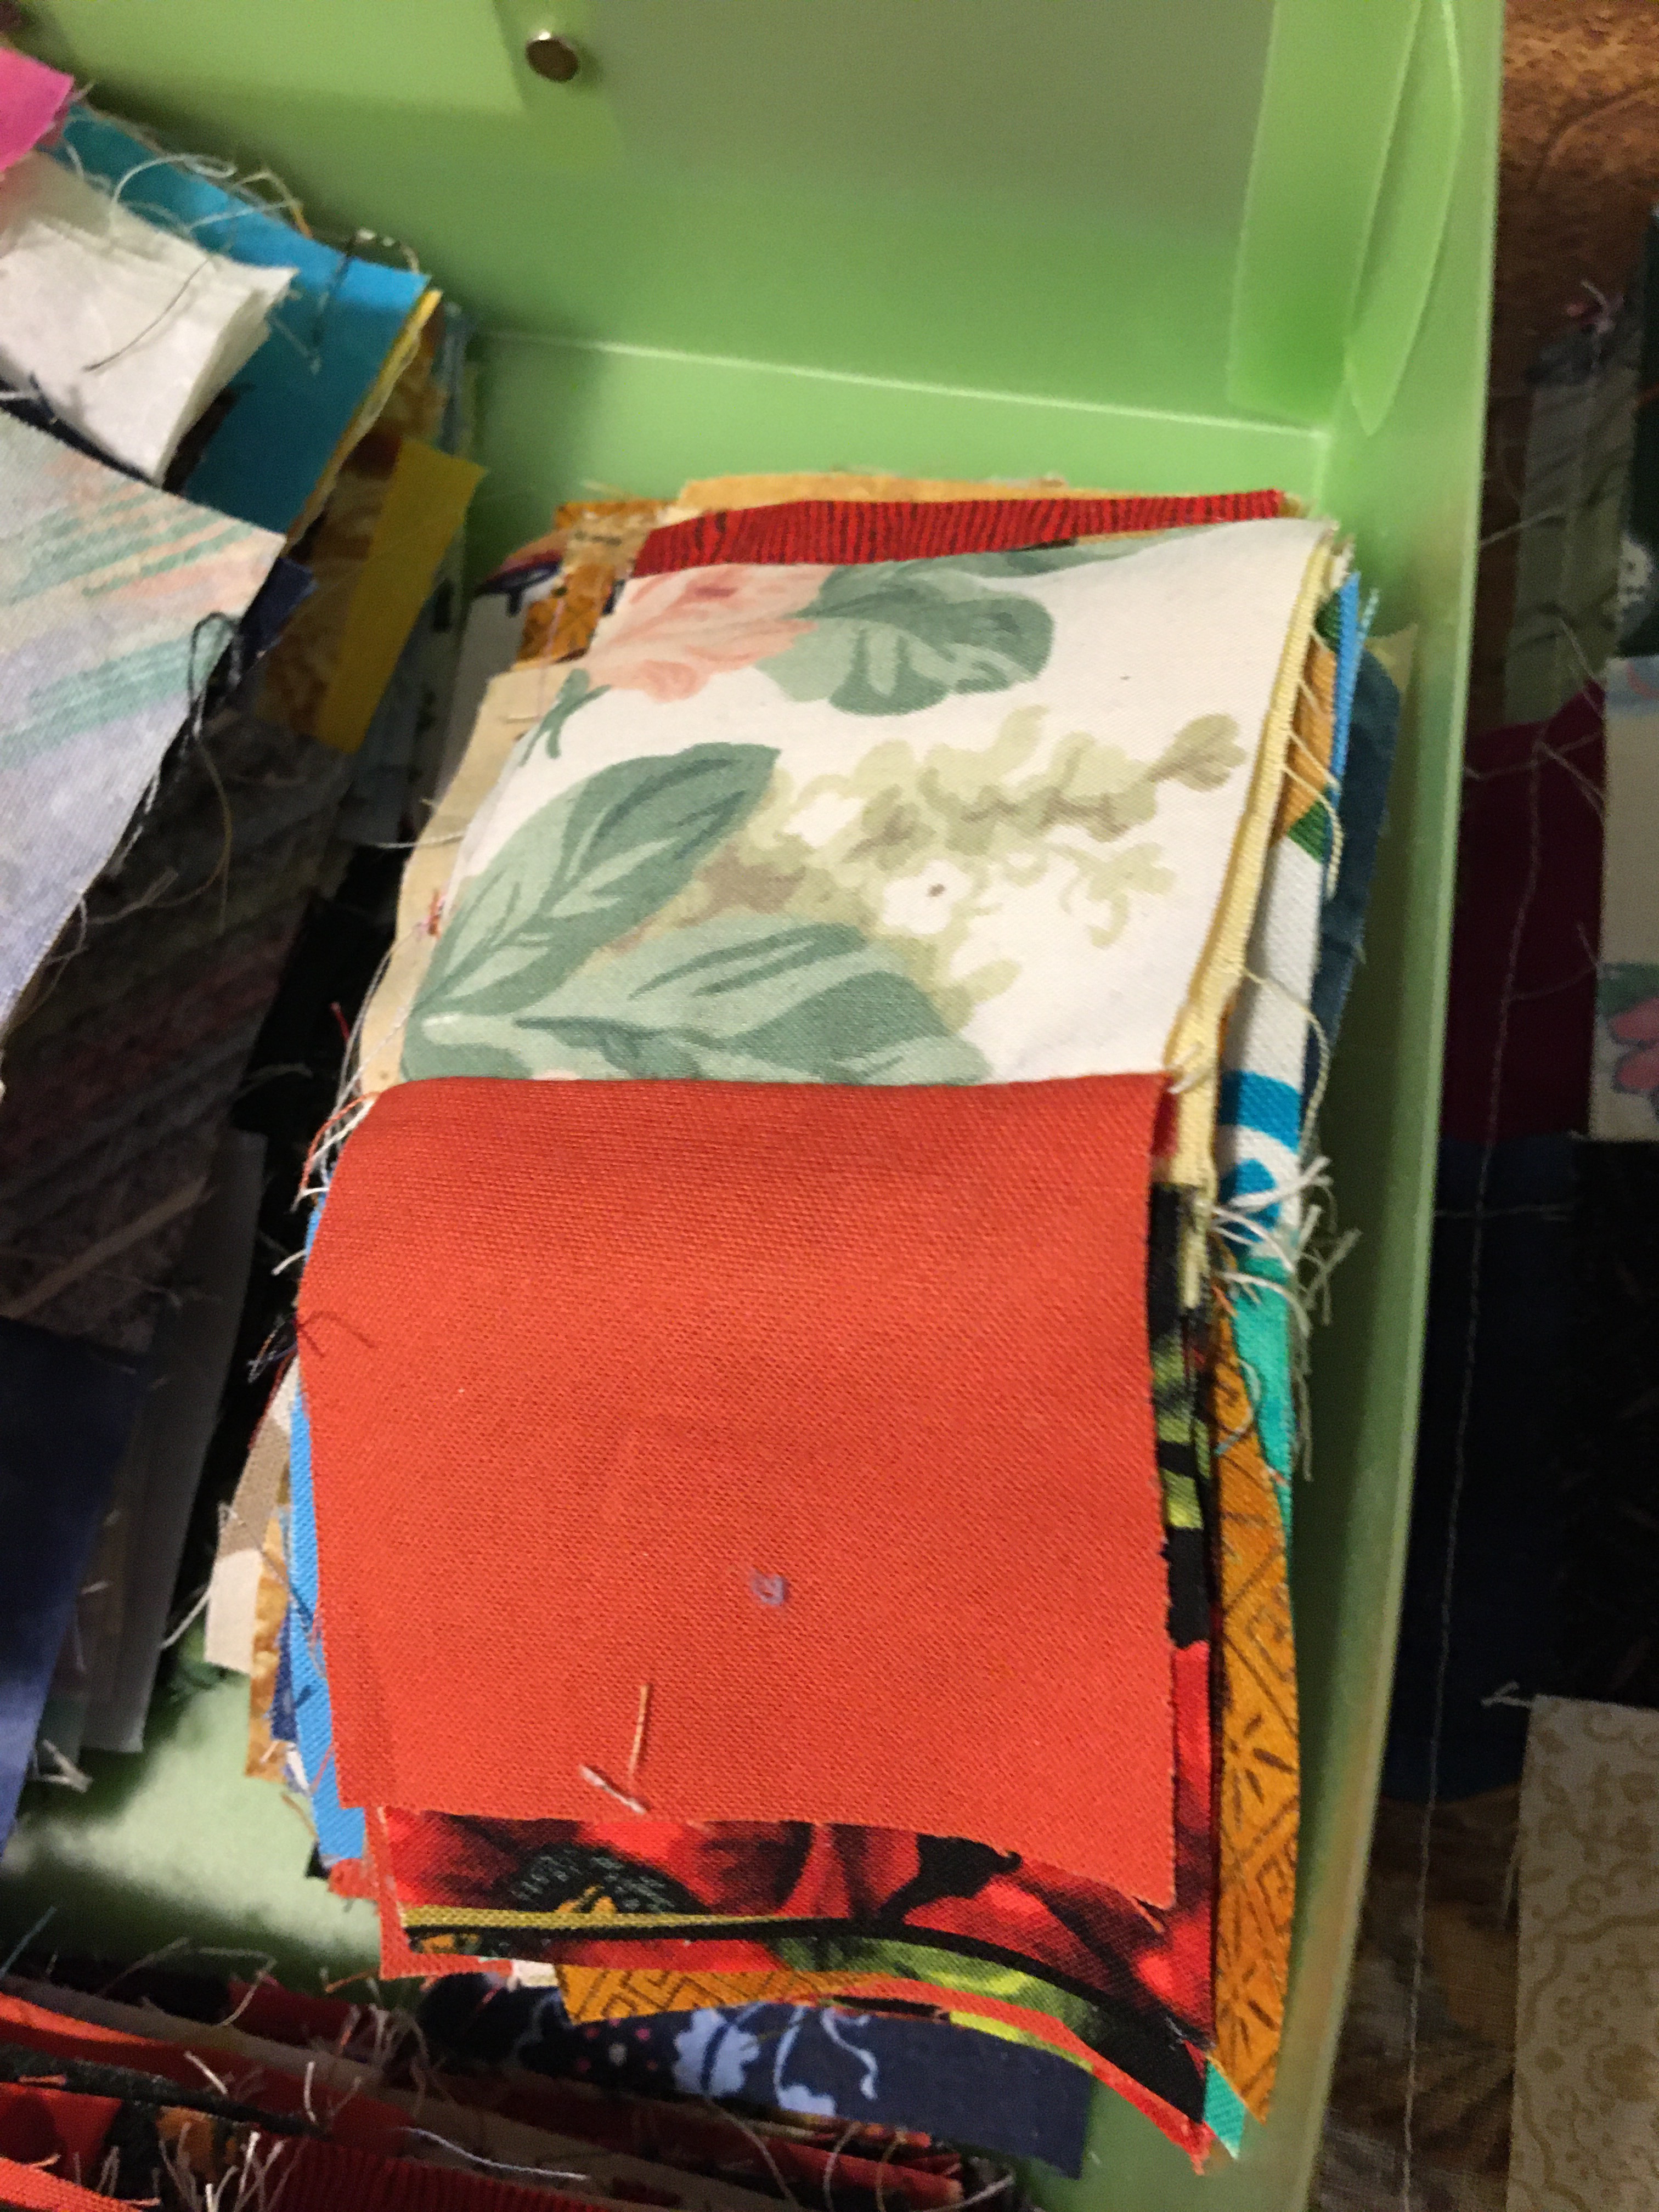
I start by making my panel for the bag. Usually I do a QAYG panel with a normal backing/batting sandwich but recently I was inspired by Gail’s post on her Charm Bag project to use leftover 2 1/2” squares to make my panels.
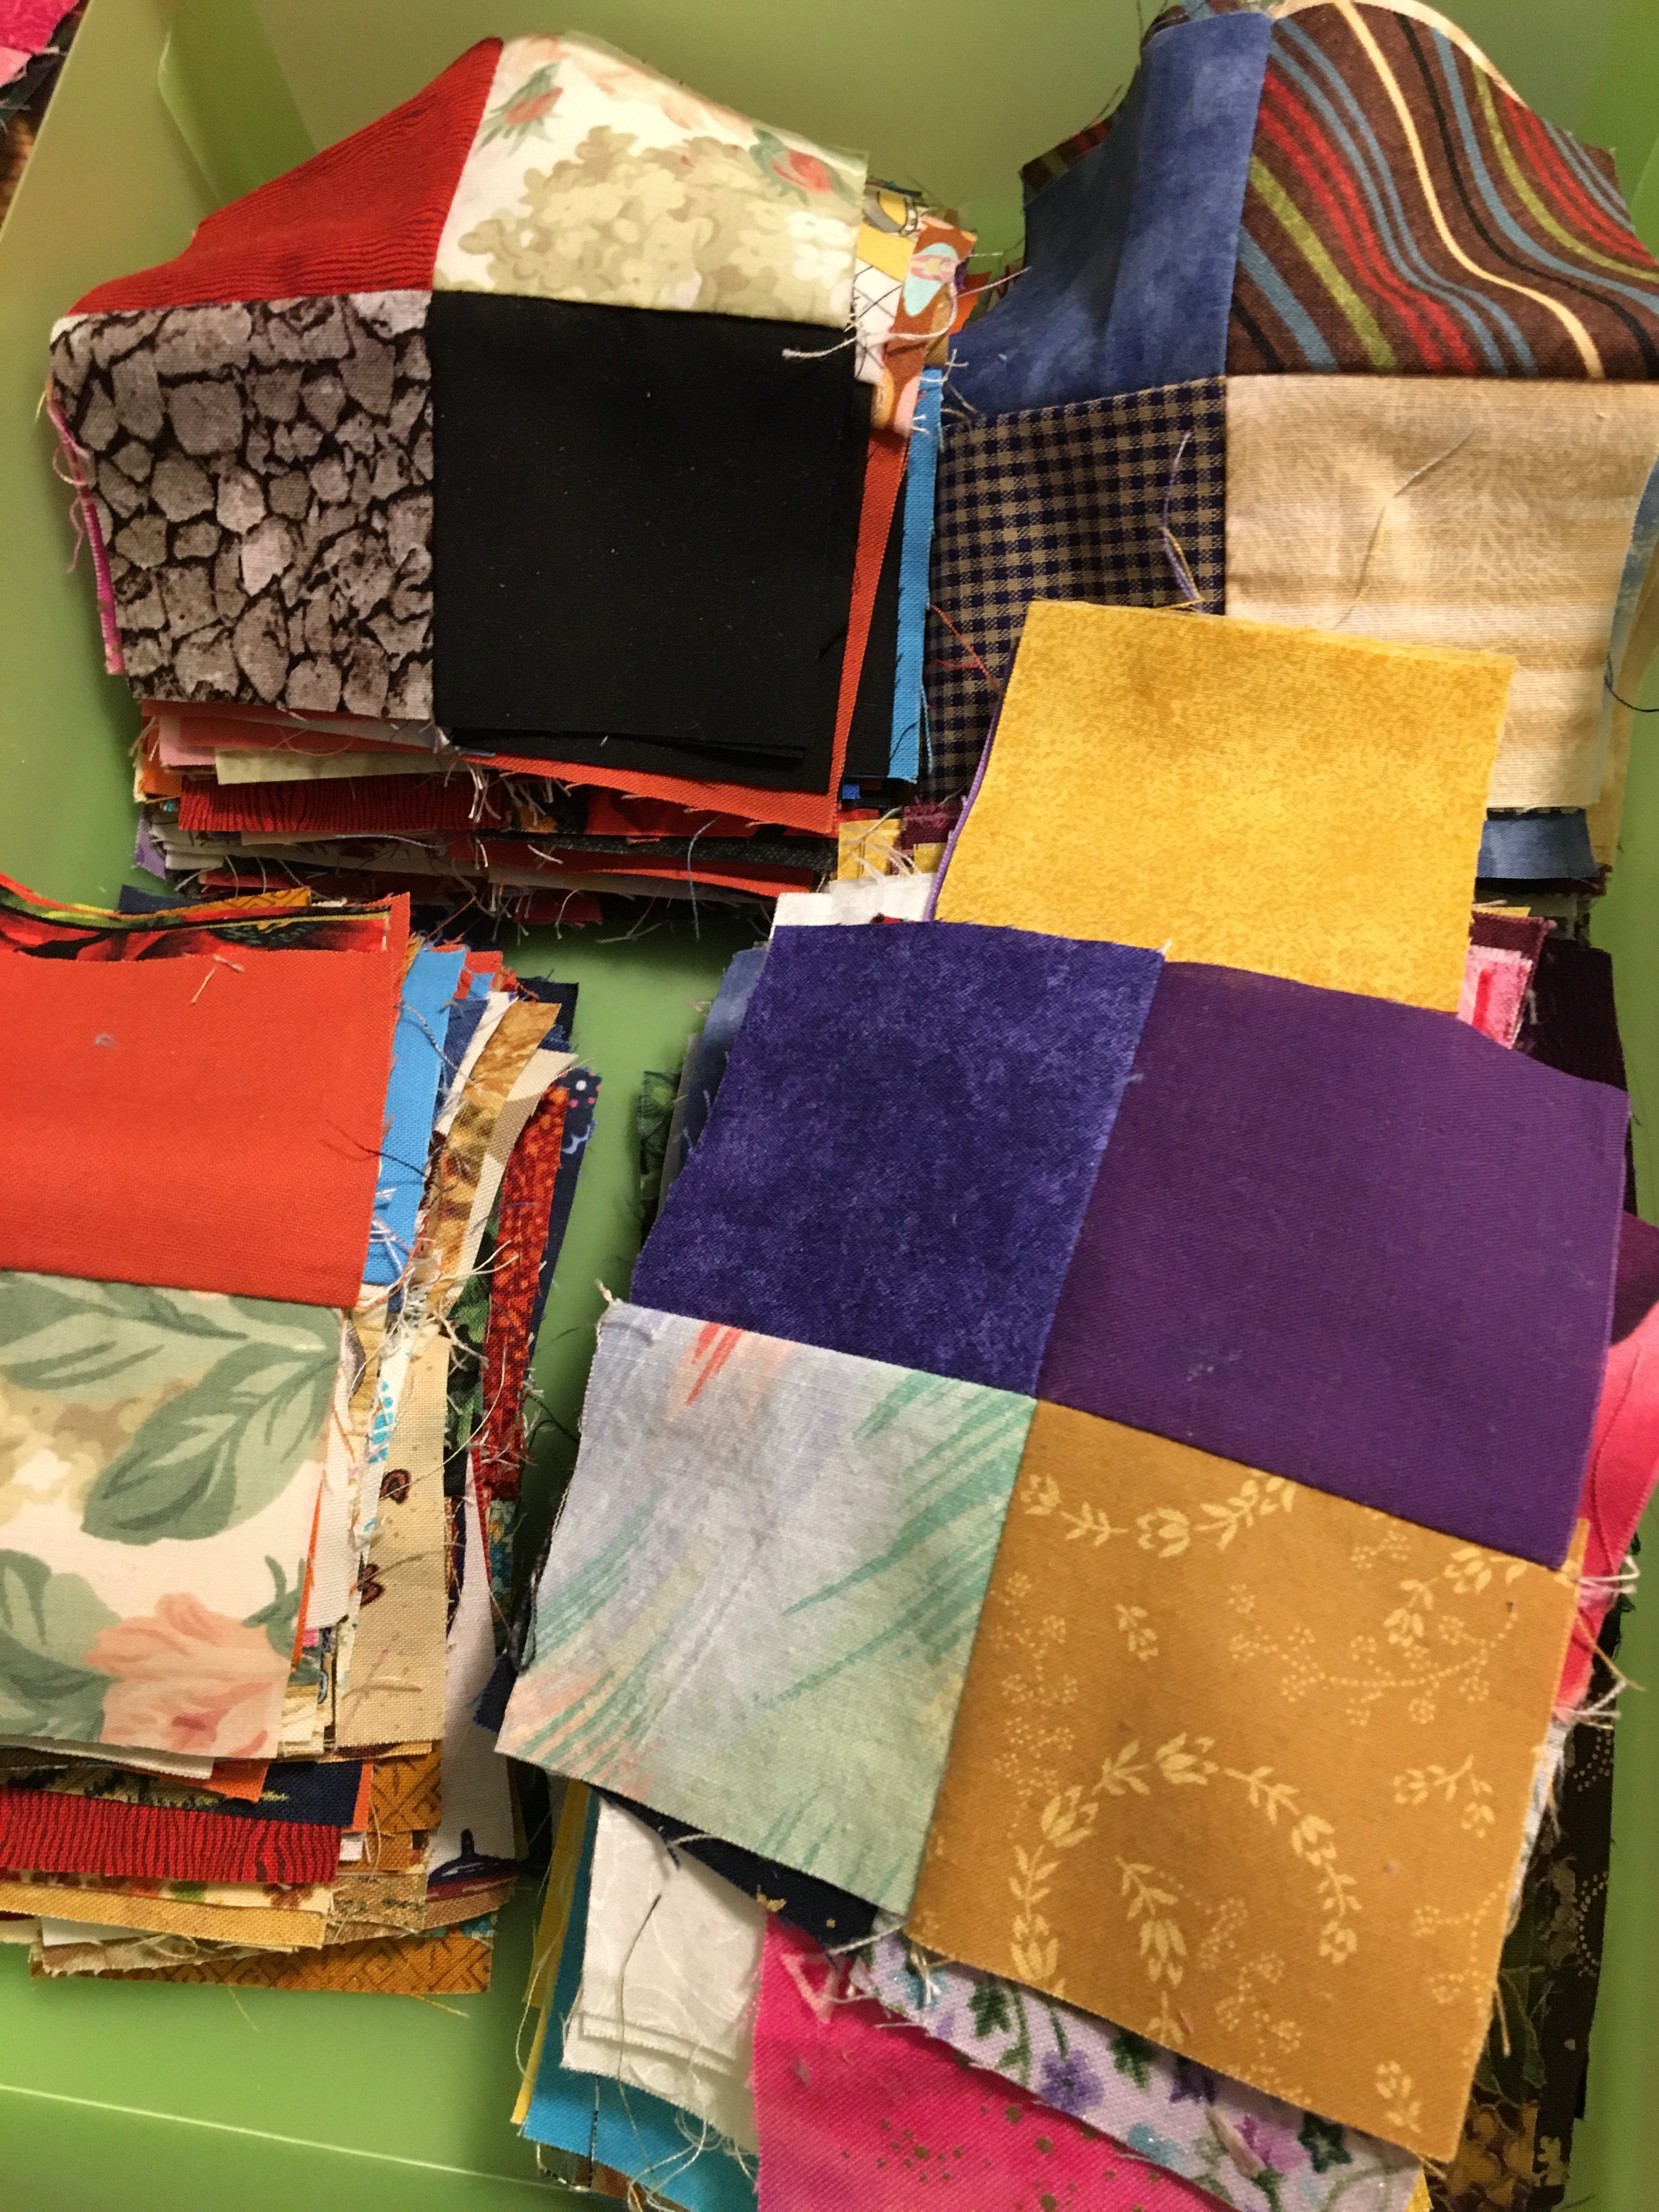
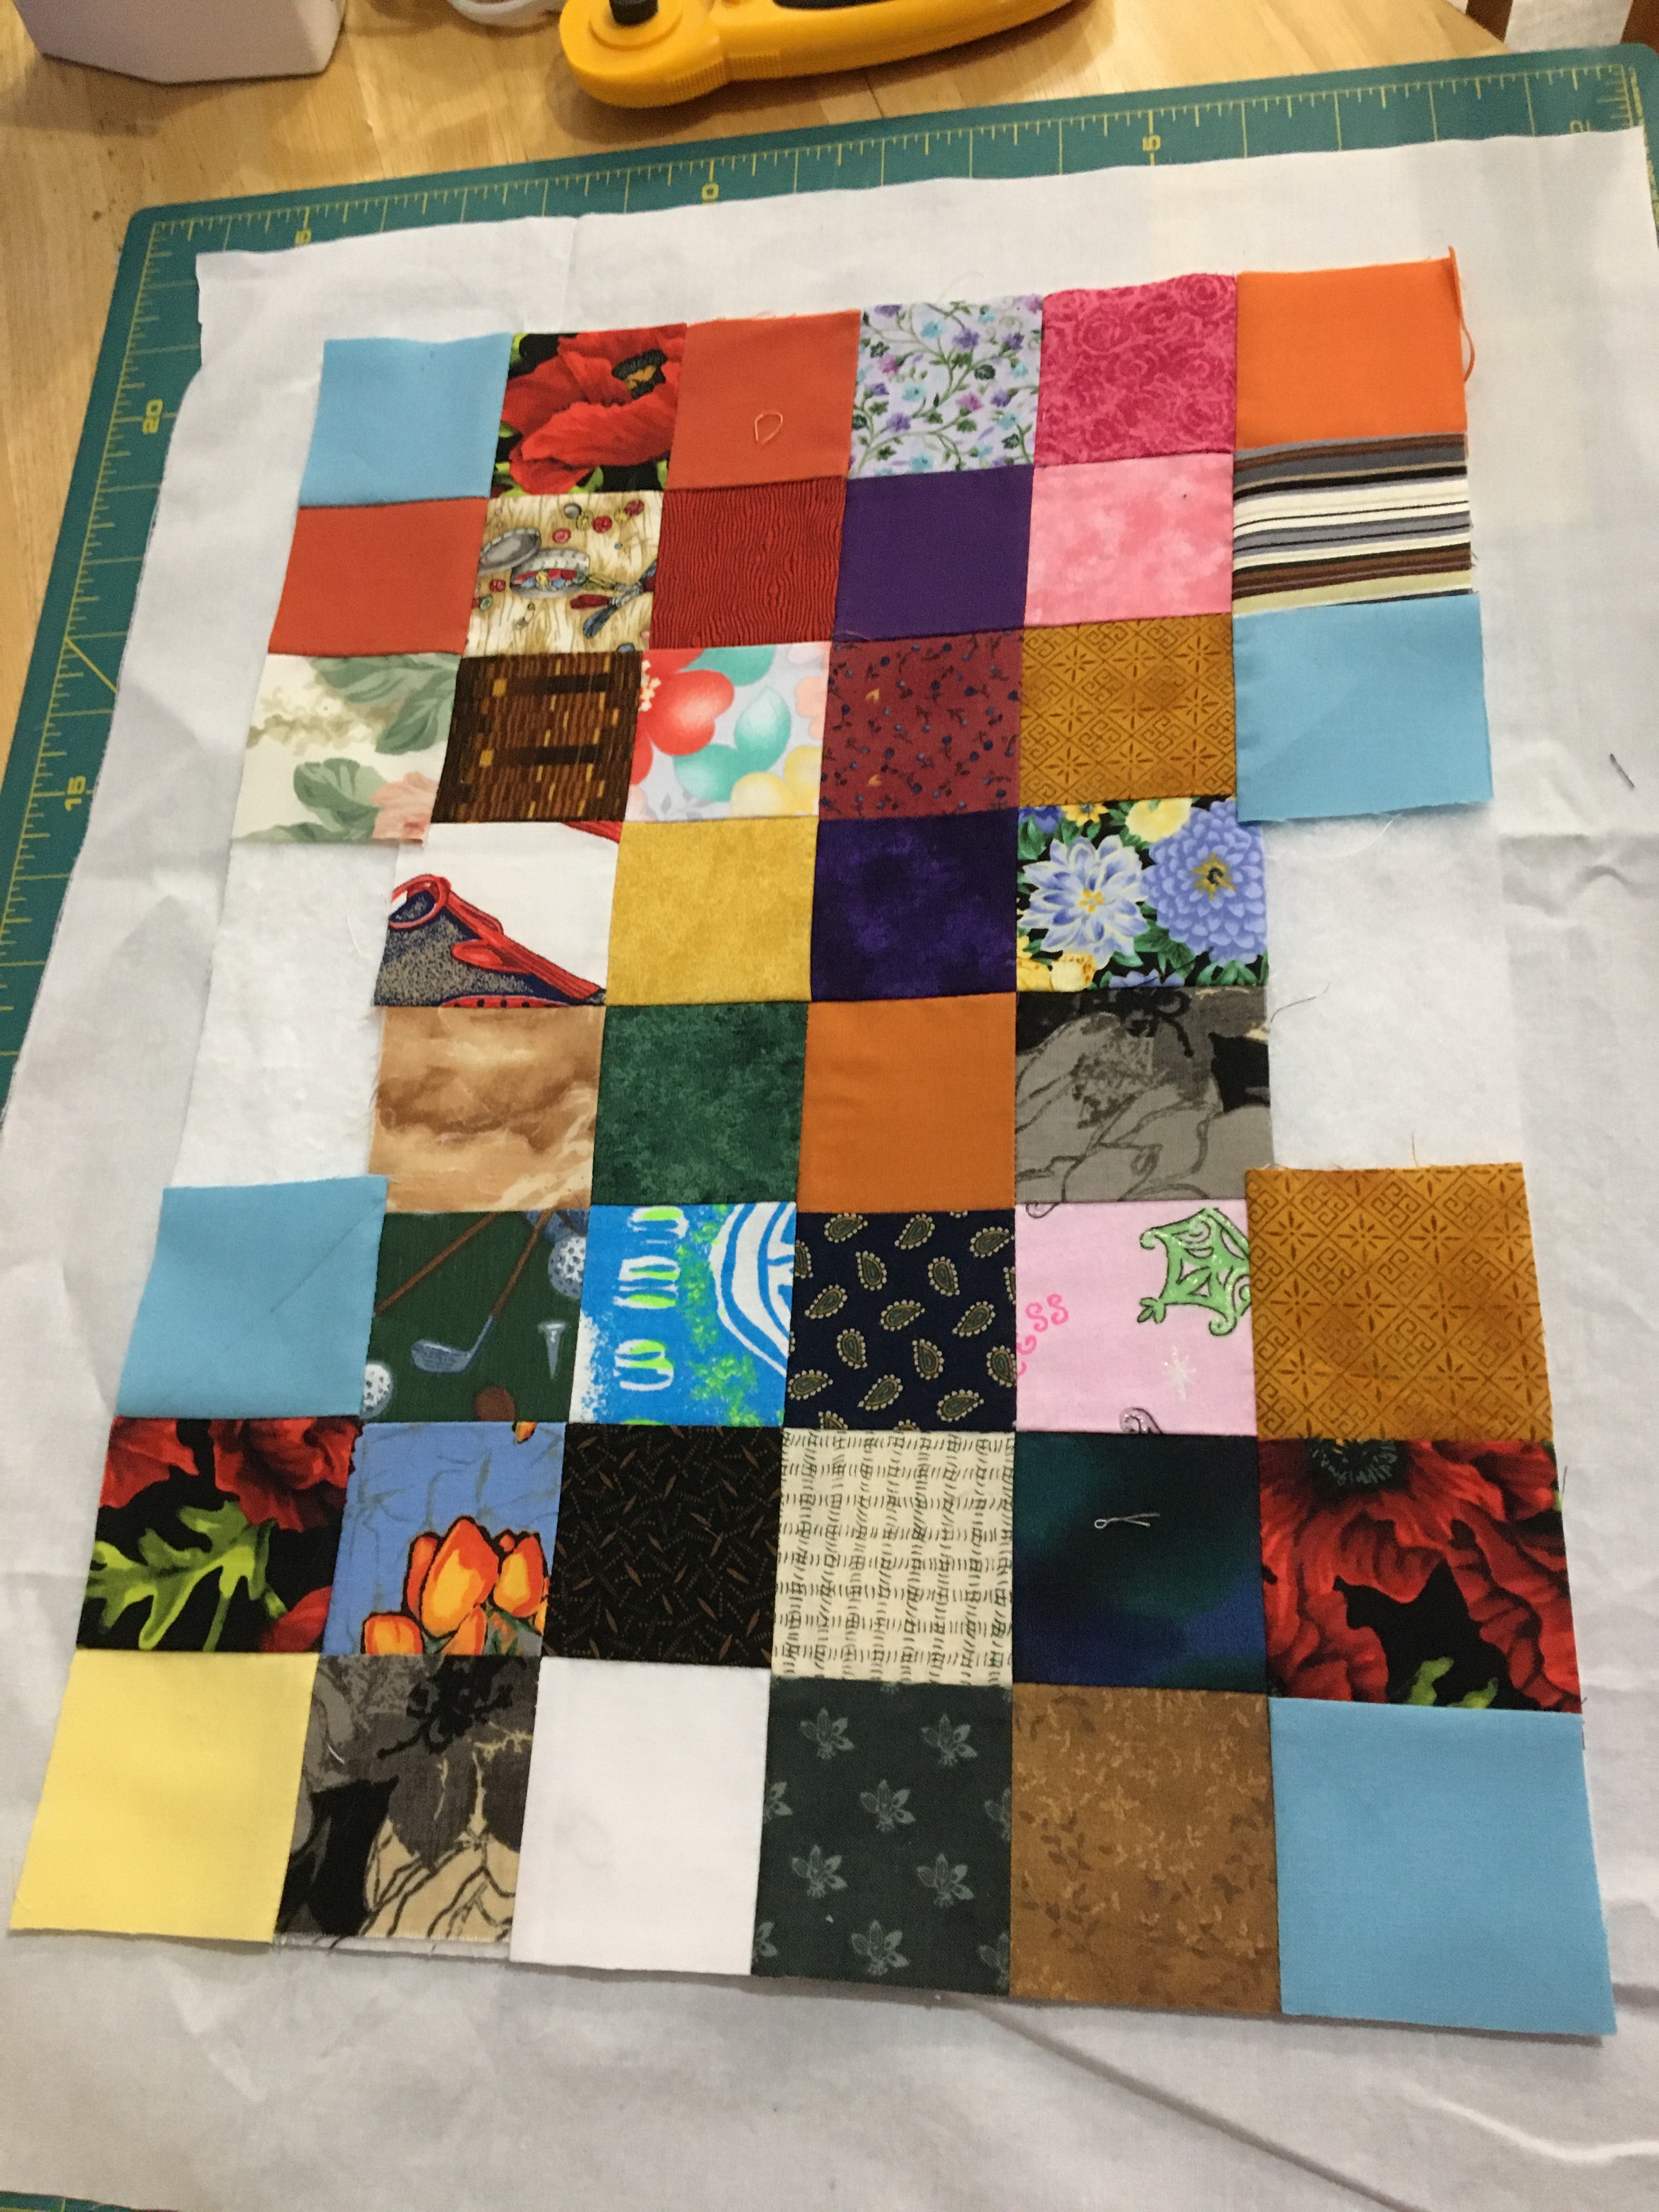
Once the panels are constructed to the size I want, I add a row of squares to one side of the sections which is one block less on each side. This makes the bottom portion of the bag when the 2 panels are joined on the bottom seam.
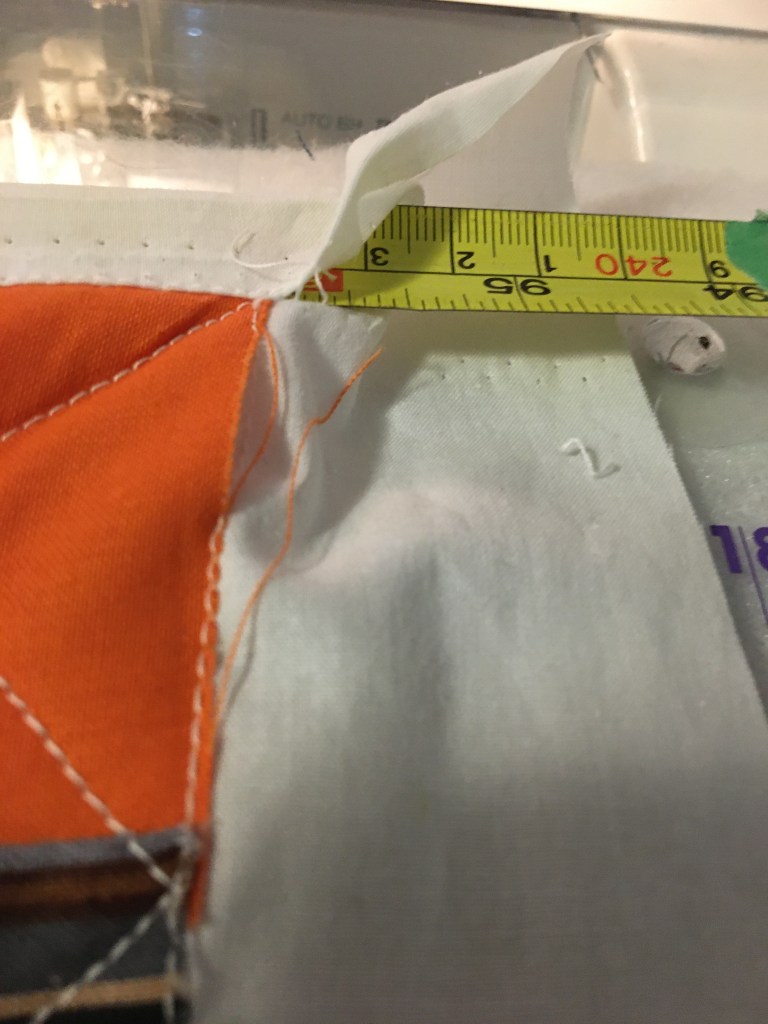
I then sandwich the panel with batting and backing. The backing becomes the lining for the bag and is trimmed to leave 2” on all sides. The panel is quilted and I trim the batting back to the edge of the panel/front of the bag.
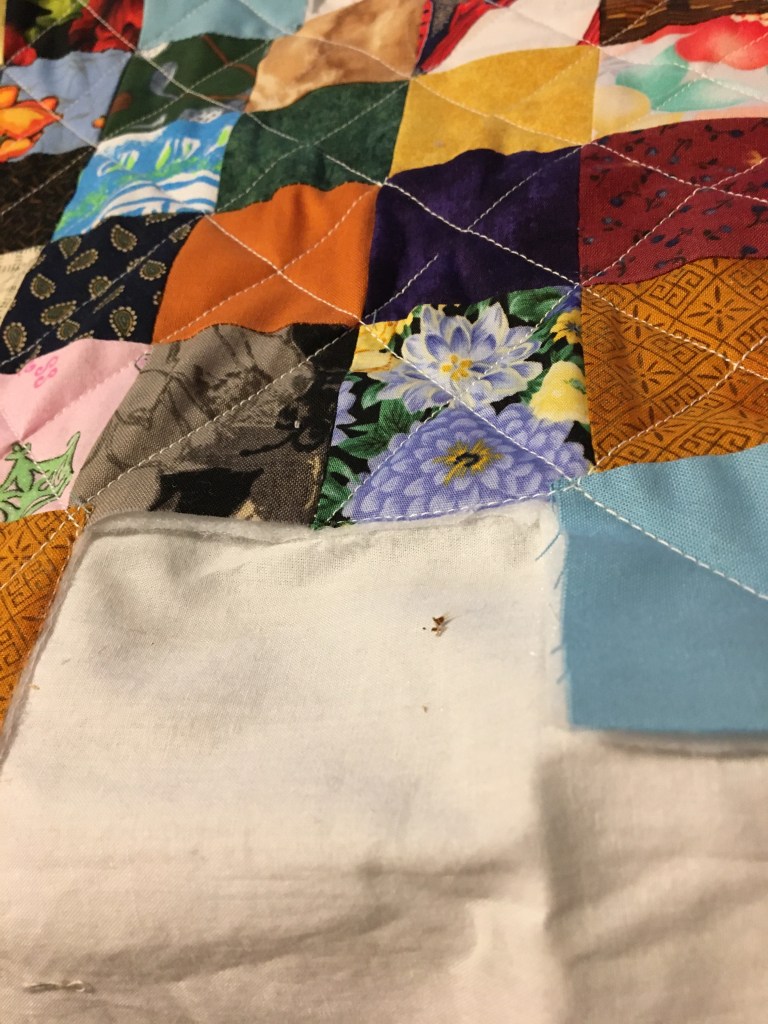
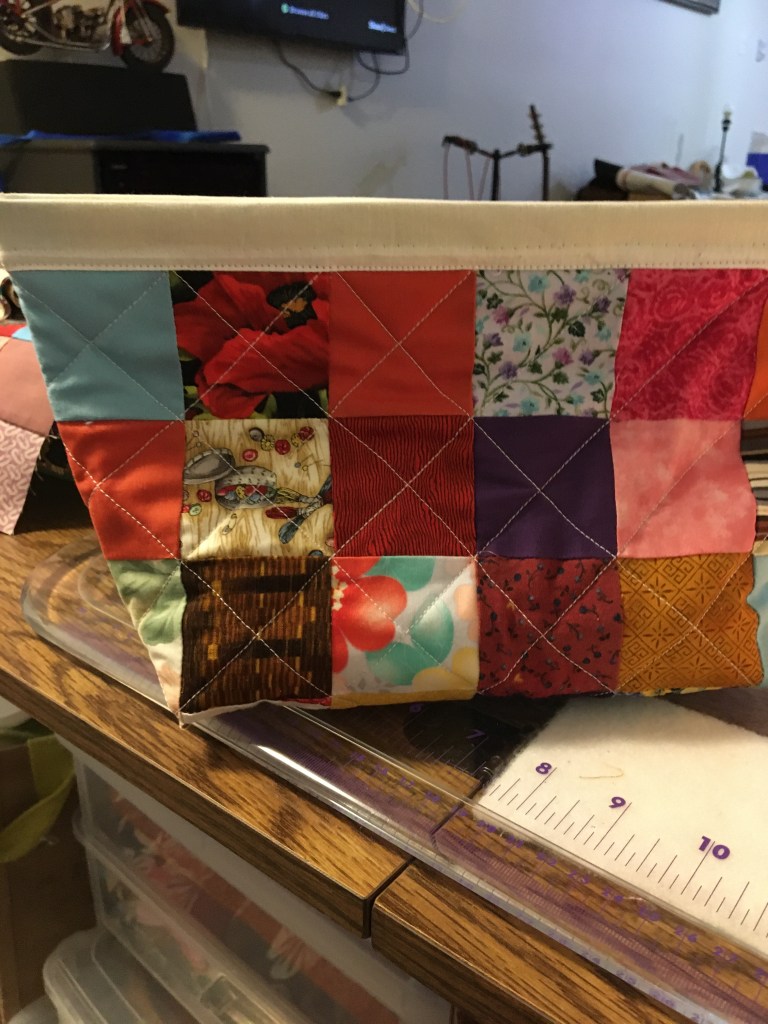
My next step is to take the lining fabric at the top of the bag and fold the edge over 1/4”. This is then folded over and around to the front of the bag to make the casing for the measuring tape strips.

Once it up is sewn I insert the measuring tape strips which have painters tape wrapped around the ends so the tape doesn’t put holes in the fabric.
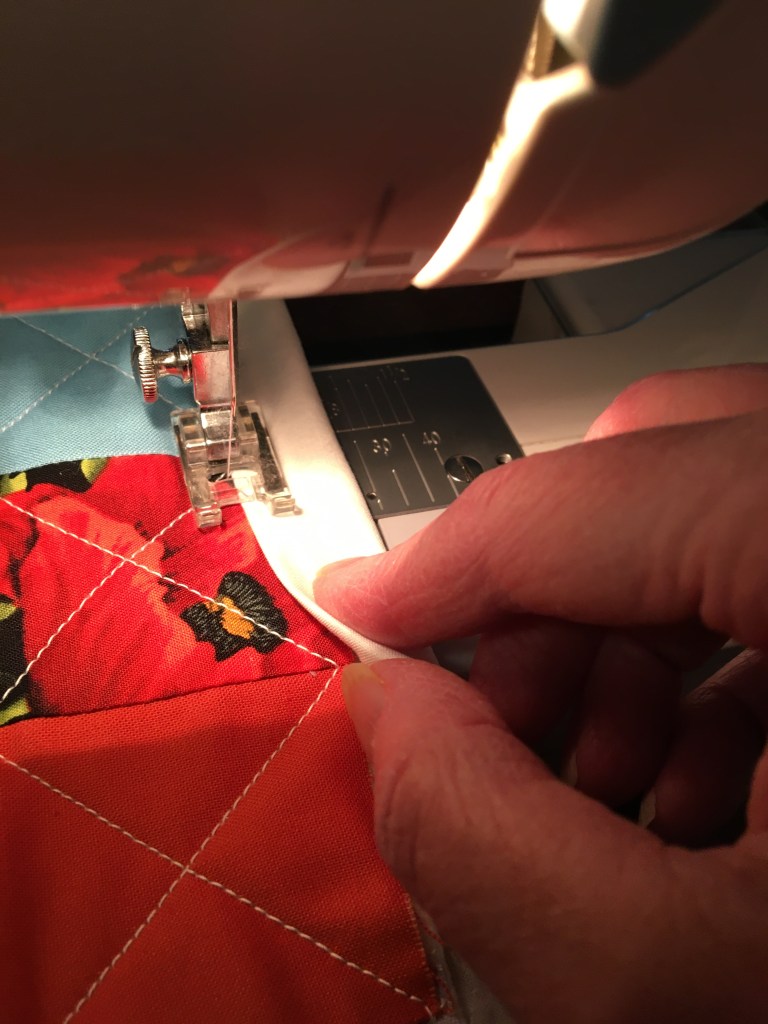
My next step is to fold the bag in half right sides facing. I sew the side seams with a 1/4” seam, making sure that I do not catch the metal measuring tape with my needle. Then I trim the lining fabric back to 1/2”.
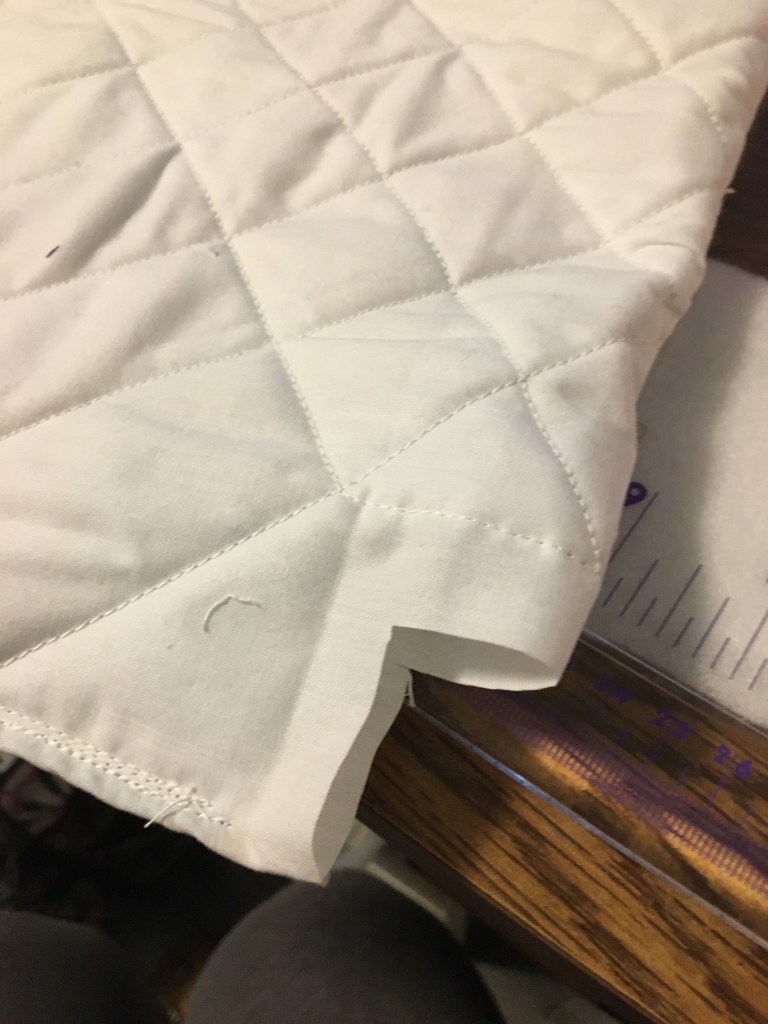
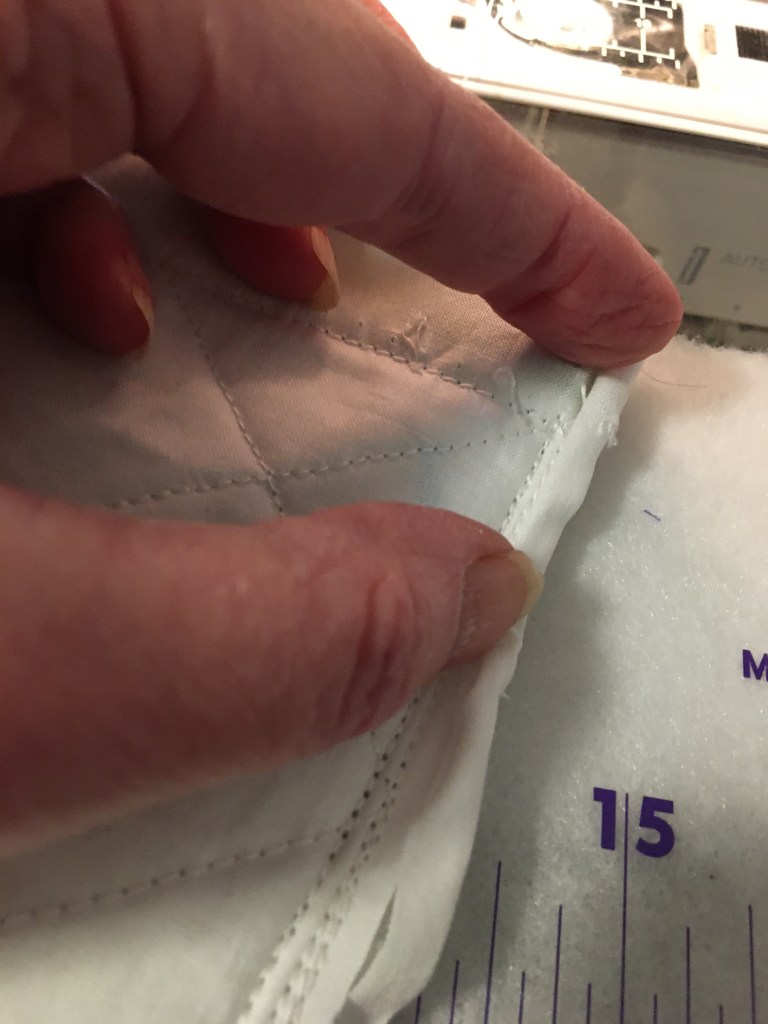
I trim the lining fabric on one side of the seam back to 1/8” and fold the wider fabric side around to the front and tuck the edge under. I then top stitch next to the edge of the fold to seal the rough edges on the bag seams in to the French seam. This prevents fraying and keeps the contents of the bag from catching on the edges.
Once the bottoms are boxed I do the French Seam on that seam as well.
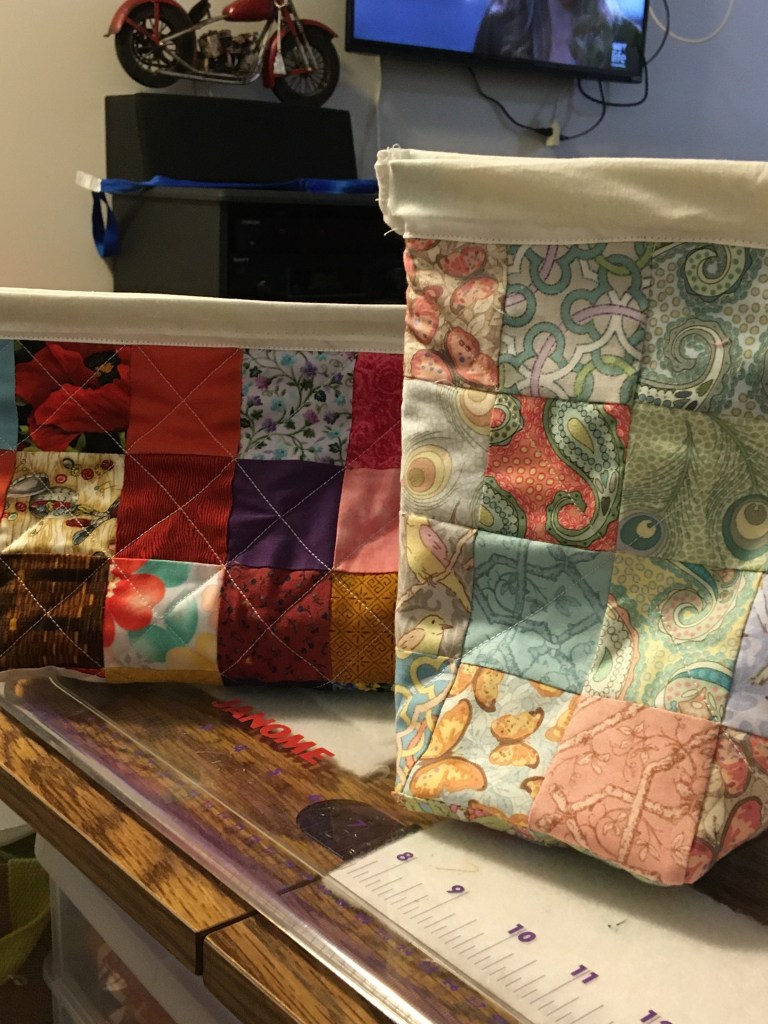
Turn the bag right side out and count is as a finish. 😉. One more for the Food Bank Christmas Hampers 😄🧺🎄
I do hope this helps you to understand French Seam construction. It’s one of my favourite ways to finish seams that might be seen, or are stressed a lot and might fray. My pillowcases and tops made with delicate fabrics (eg. lawn, silk, etc.) are always finished using this method.
If you have questions or don’t understand a step, please leave a comment and I can hopefully clarify it. Thanks for dropping by.
😉 Carol
Linking with Home Sewn By Us TGIFF
Kathleen McMusing Tips and Tricks

Thanks for sharing this. I’ll have to give that a try. When you insert the measuring tape – does the numbered side face out? Does it make a difference?
LikeLiked by 1 person
Wendy the numbered curved side is on the right side of the bag, facing out. If you put it the other way the bag doesn’t snap closed.
LikeLike
You know I have been sewing for years and the thought never occurred to me to make a french seam on the innards of a bag! A great tutorial, thank you!
LikeLiked by 1 person
It’s a thing with me! 😉. I don’t like the look or feel of exposed seams that fray inside bags. Perhaps that’s why we usually make bags with separate liners?
LikeLiked by 1 person
These are so pretty, and smart to use the measuring tape for the snap top. Also great to have those beautifully finished seams. Thanks for the demo!
LikeLiked by 1 person
Thank you Sandra. ☺️ I forget where/when I first saw the measuring tape in the top but always thought it was a great finishing technique for knitting bags since the wool doesn’t catch on zippers (amongst other uses). 😉
LikeLike
Hi Carol! I hope you link this up on Kathleen McMusings Tip and Tricks linky party (open through today). I definitely appreciate all the details you’ve shared!! The finish the French Seams provide make the whole piece look professional. Your steps are just spot on! I was shaking my head as I read each process. Thank you, thank you! ~smile~ Roseanne
LikeLiked by 1 person
Thank you Roseanne. I’m glad this just might work for anyone wanting to do French Seams. I personally love the finish. Thank you for the suggestion that I link up with Kathleen’s post. Done! 😉
LikeLiked by 1 person
Carol, this is a fabulous tutorial! Thanks for linking up!
LikeLiked by 1 person
Thank you Kathleen. I’m glad you like it 😊
LikeLike