
In my first post I introduced you to the tools that I consider to be necessary to our quilting journey.
In this post I will give you the short version of the tips and tricks I teach my students over 8 months of classes. I will add to these tips and tricks as we go along if I forget anything in this first post.
I have a few “go to” guidelines that have worked for me for the many years I have been sewing and quilting.
Thread and fabric are the staples of building a quilt that will last. Many quilters go to a box store to buy their supplies while others insist on only using Quilt Shop cottons and brand name threads. When I first started quilting I used whatever I could afford or what I had on hand. My first patchwork quilt was made when I was twelve. I spent a summer with my grandparents. My grandmother taught me to cut and piece those blocks by hand and the fabrics were whatever she leftover from her sewing projects. There were pieces of cotton, feed sacks, linen, polyester and I’m not sure what else! The thread came from her sewing basket but was likely a cotton thread. I had to reset many of those patches because my hand stitching wasn’t neat enough, fine enough or consistent enough to meet my Gramma’s standards, but it was fun to do while we had our tea in the afternoon or later after dinner was finished and dishes done. It finished as a lap sized quilt and was backed with a piece of a Hudson Bay blanket that had worn edges. We trimmed it down and the top was tied with leftover bits of wool from my Gramma’s knitting basket. Then I learned how to bind it. I wish I still had that first project or at least pictures, but I don’t.
The lessons I learned from that quilt have stayed with me. A Quilter will use the supplies they have on hand (the stash) or can afford.
My hard and fast rule is to use 100% cotton fabric and cotton thread. The main reason being that in my opinion cotton fabric and thread will shrink at a similar rate when the quilt is washed, leaving you with a more visually appealing product. When I lived in northern British Columbia in a small rural town, I had to drive almost an hour to the nearest town. There was a Walmart there but no Quilt Shops. I first discovered Gutterman thread. The quality of the thread seemed so much better than the poly cotton I had in my basket so it became my preferred thread. Then I met a wonderful group of ladies who quilted using machines. They introduced me to rotary cutters and mats. It was life altering! Then one of the ladies showed me Metler and Aurifil threads that she purchased at a Quilt Shop in Prince George, BC. Which was a two hour drive one way. I didn’t get there often but usually managed to stock up on thread and treat myself to a piece of fabric or two when I did. I was suitably impressed with the blocks made with these finer threads. I also noticed that my sewing machine didn’t fill with lint as quickly. I do admit that as the years have gone by I have developed a preference for brand name fabrics due to the quality of the fabric. I also have a preference to using Aurifil thread because it doesn’t “shed” as much.
I quickly became addicted to machine quilting since I found in my middle aged years that I developed arthritis in my hands and it always flared up in the winter weather. By using my machine I could continue learning to quilt with all the new methods, tips, tricks and knowledge these wonderful new friends cared to share.
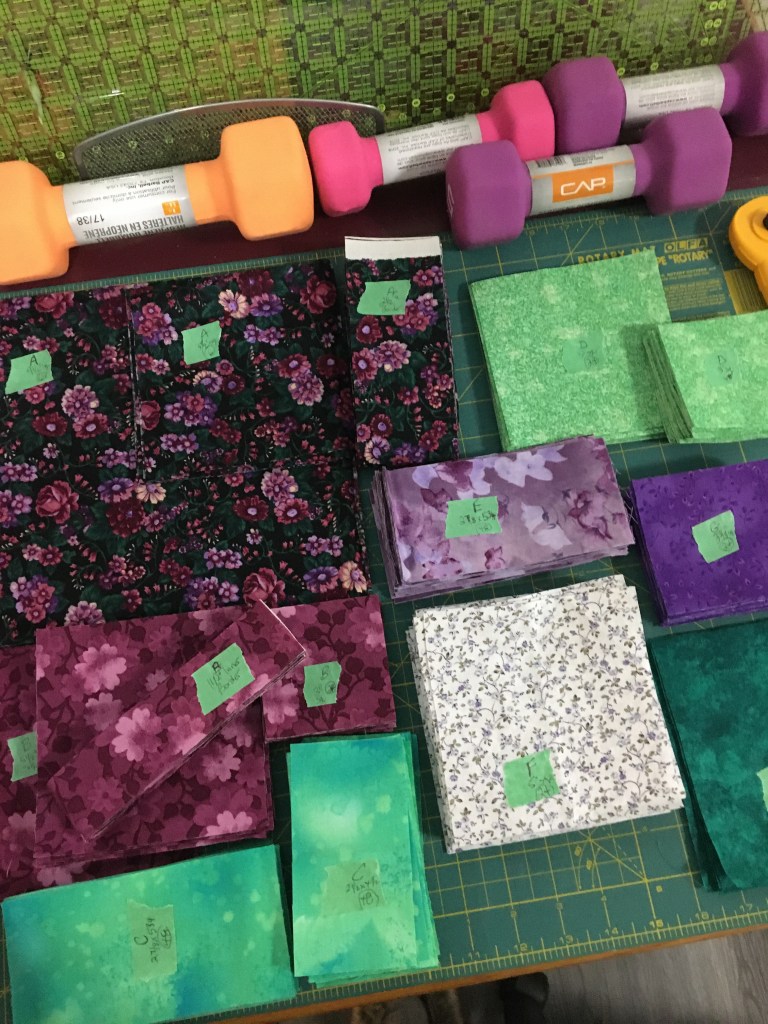
Before I start to piece my quilt I cut and label all of my pieces. For this I keep a roll of green painters tape in my drawer. The tape stays with each stack of pieces, doesn’t poke me every time I move my stacks to find the pieces I need, and doesn’t poke holes or leave marks on the fabric.
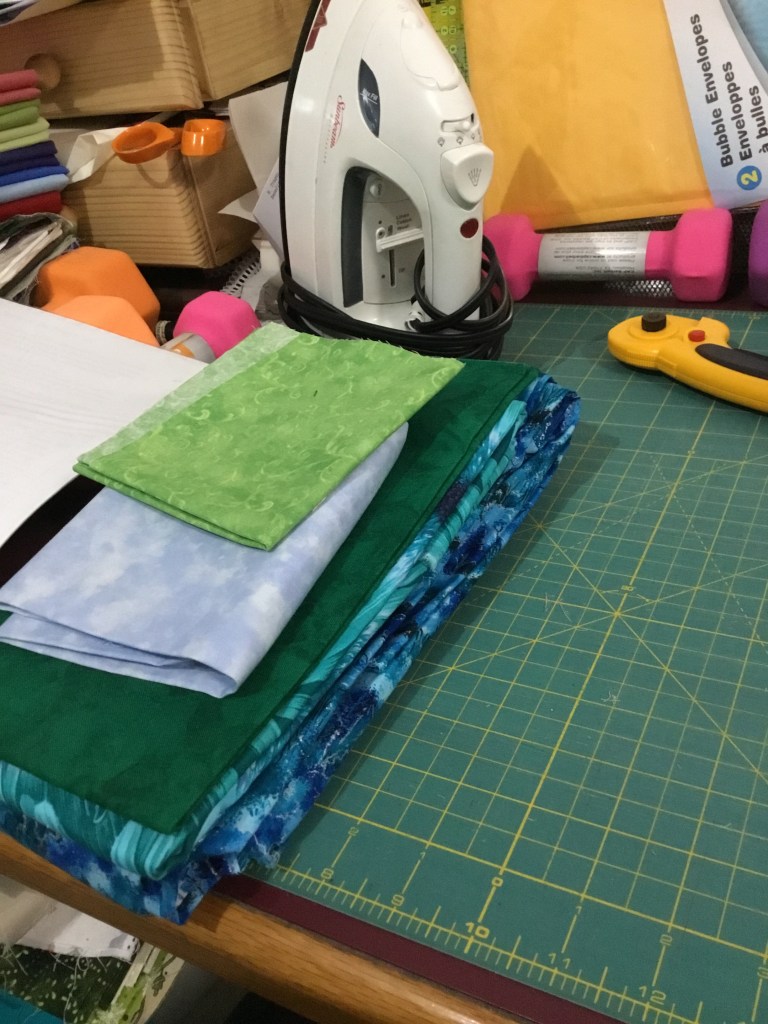
My next step is to make sure I have 4 or more bobbins filled with the thread I want to use for piecing. I have spools of Thread in white, black, grey and beige on hand as I have learned that any one of those colours will usually blend with my fabrics and not show through to the front of the fabric.
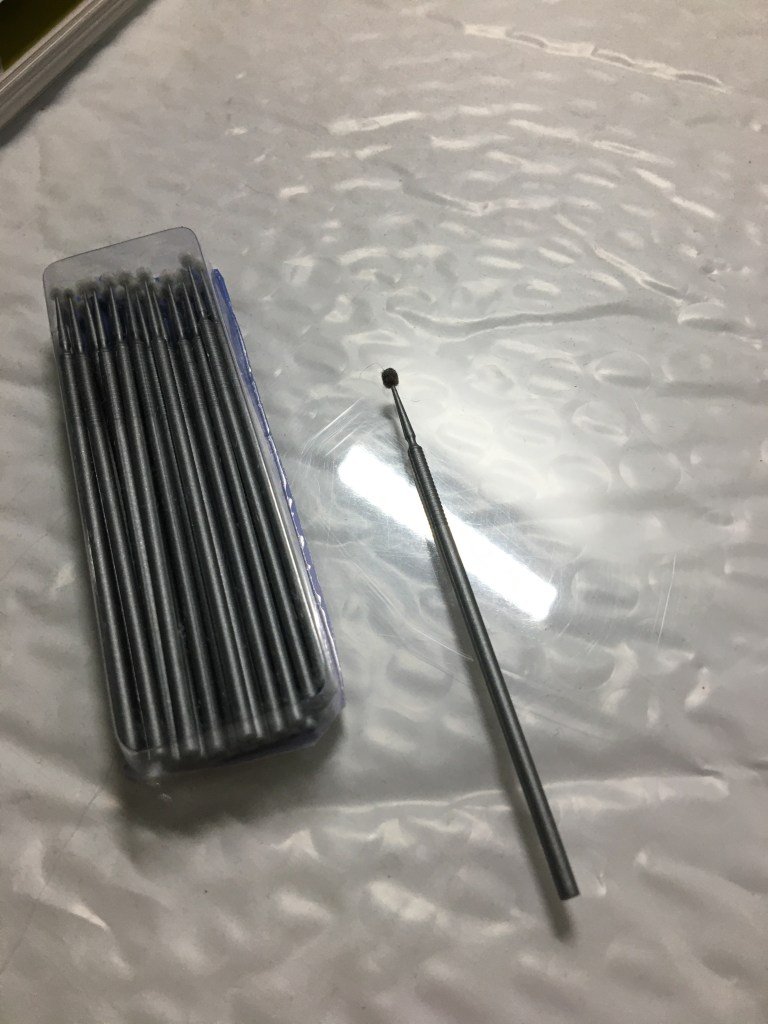
At this point I stop and make sure my machine is turned off. I learned the hard way that a sneeze can result in a needle puncturing a finger or the bobbin trace taking a chunk of flesh from another finger. I then take my bobbin holder apart and clean the lint out of it. I discovered that makeup brushes work extremely well since they can usually flex a bit and get the lint out of all the nooks and crannies. Recently one of the Quilt Shop owners I know showed me some wonderful little disposable brushes. . I did get some and found that they really work well to clean the feed dogs on the machine. My rule of thumb is to clean the lint from the machine every time I change bobbins. If I have been doing a lot of quilting I will oil my machine at this time (according to my manual) and after I put everything back together, I will sew for a few minutes using scrap fabric to absorb any excess oil. Then I put a new needle in my machine. I do this at the start of every new project or even more often if I hear a popping sound when I’m sewing. To me, that pop is the needle ripping a hole in the fabric.
These simple steps keep my machine in good running order and ensure there is no damage to either my machine or my fabric.
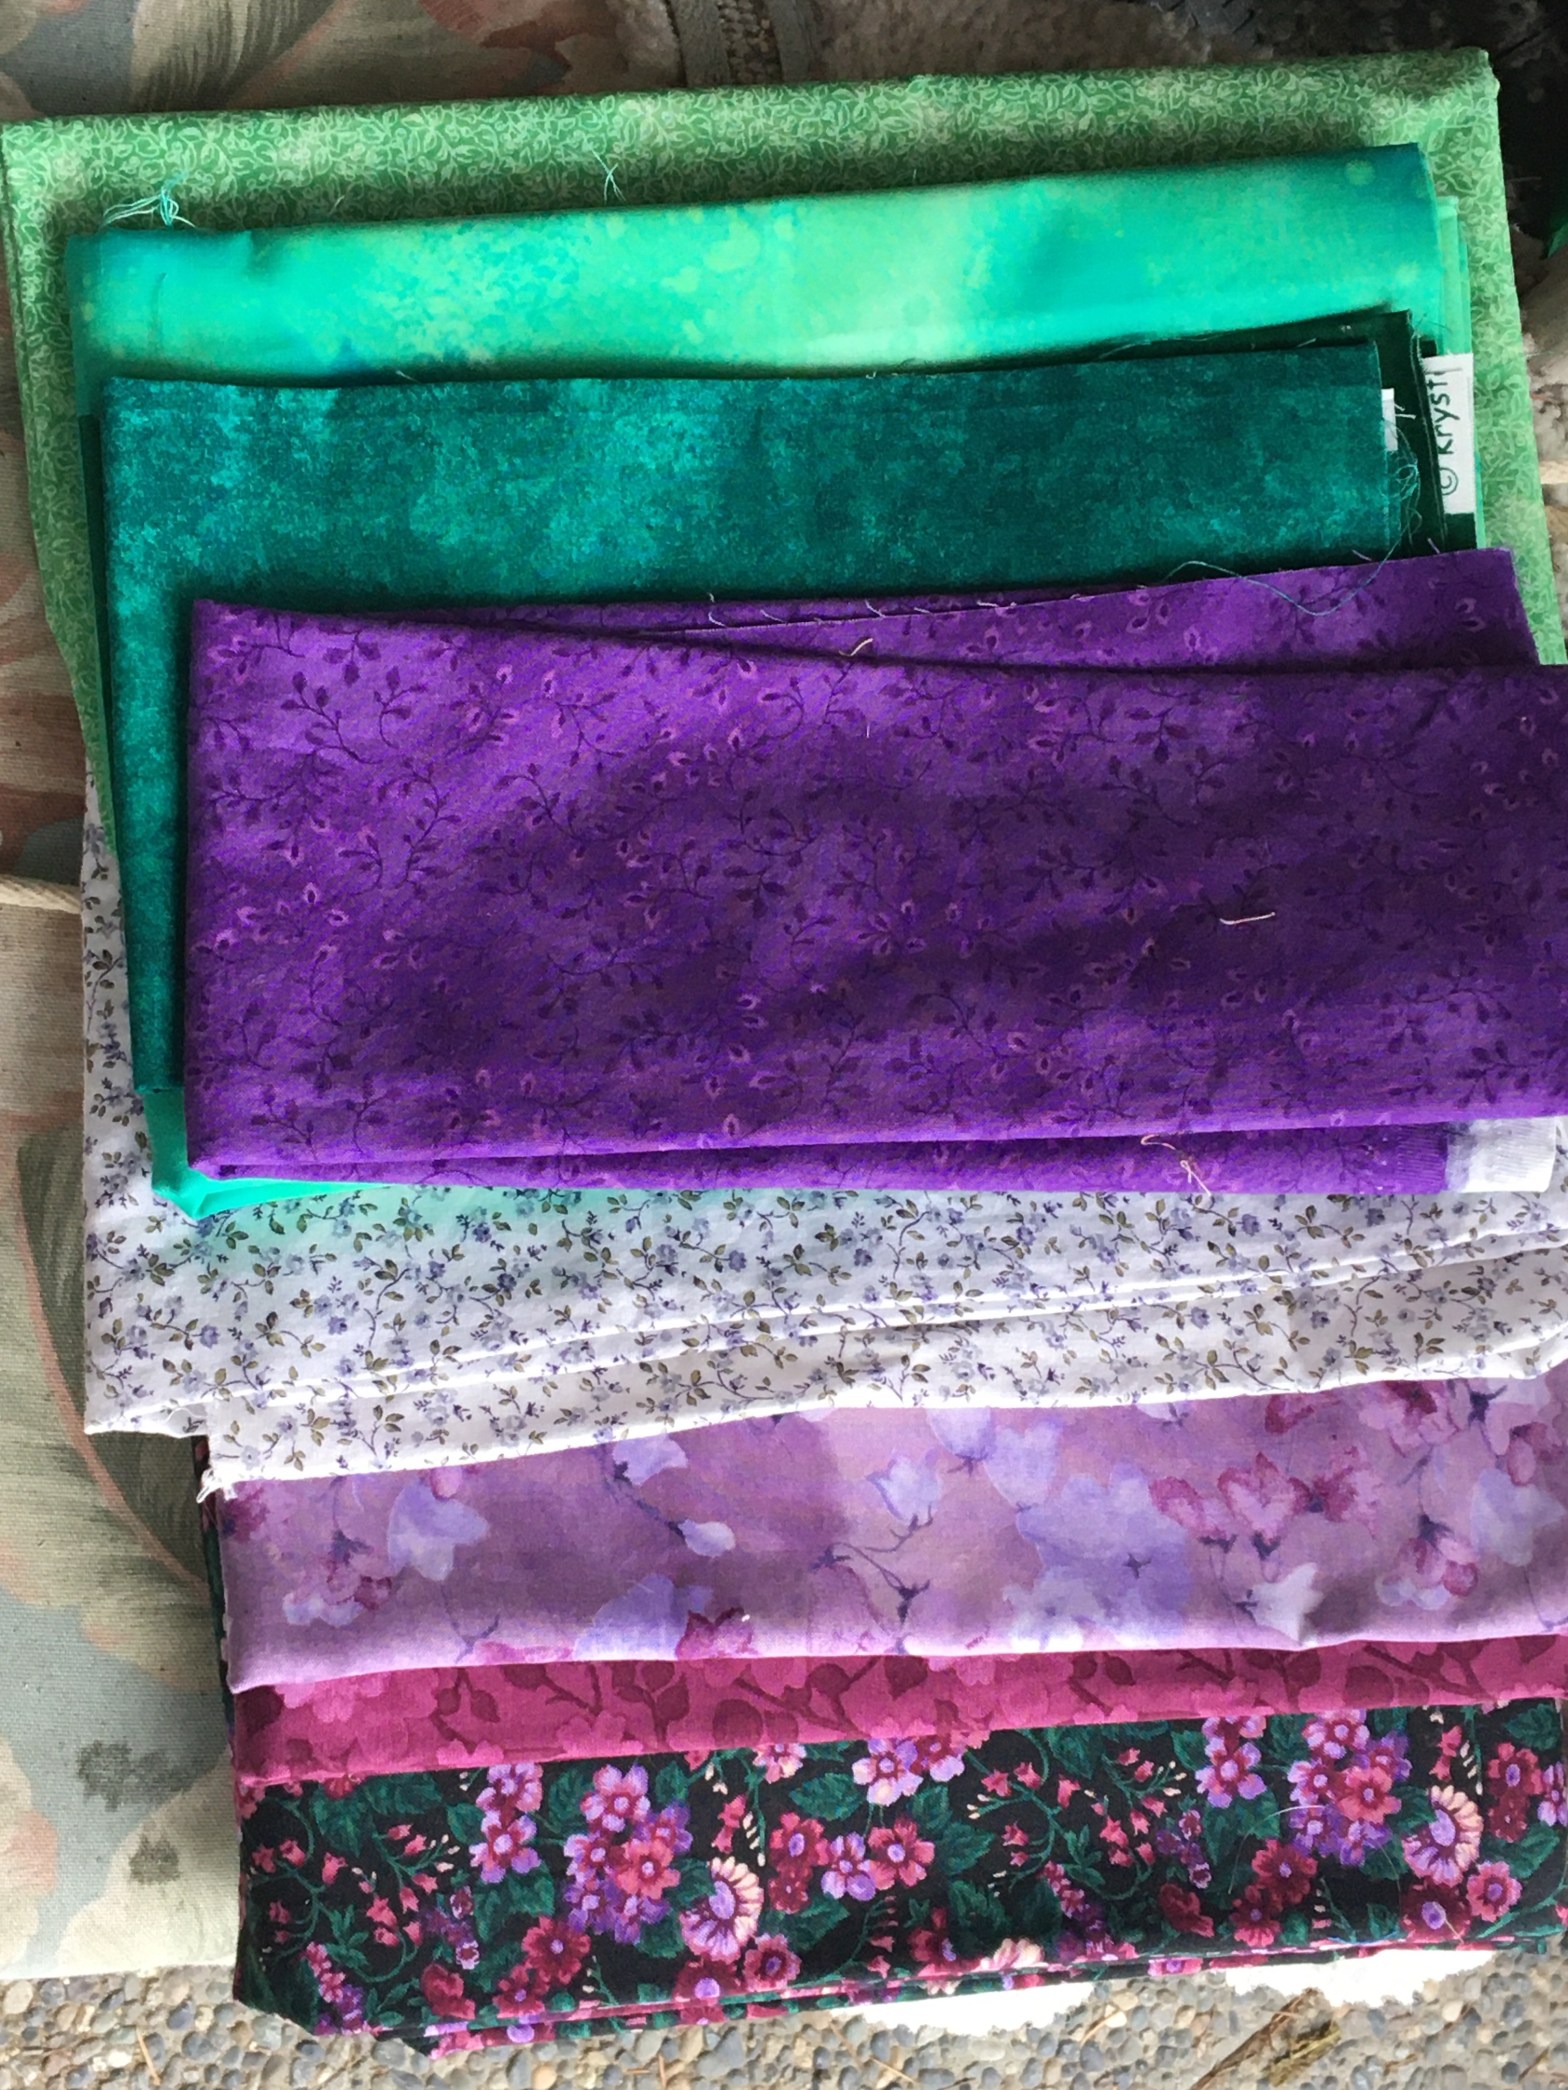
When I first started playing with fabric and my machine, I started purchasing fat quarters. Then I moved out of the north and was working two jobs and had plenty of disposable income. I then started buying yards of fabric if it caught my attention. I didn’t pay much attention to colours or hues. The fabric went into the cupboard. Then I decided that 3 yards was the best amount to add to my stash. It usually works out that 3 yards will work for one of the fabrics in my desired pattern. Now with being retired on a fabric diet I’m trying to work with my stash. I will admit to being a bit surprised with some of those early fabrics. My tastes have definitely changed. Now I will purchase fabric in a needed amount for a quilt or occasionally I will buy 4 or 6 fabrics from a particular collection if it has that “you need to take me home” tug at my heart. I tell my students they will have to decide which method works for their life, budget and space. Going from my 14’ x 24’ studio to 4’ square of sewing space I keep my purchases to a minimum.
I still have some of those early purchases and keep a bin for smaller than a half yard of fabric pieces. When a new student starts I encourage them to help themselves to 10 – 15 of these fat quarters to use for their Sampler blocks. It gives them good practise to use a colour wheel to pick colours and the value of using different hues and will show them a scrappy quilt can always be fun to make. It’s also a good lesson in why most quilters have scrap bins. 😉
At this point I think I have covered the basics of tools, supplies, preparation and maintenance so next post will be the start of the blocks for our Sampler Quilt and some of my favourite on line sources.
Thanks for taking the time to read my blog. If you have any suggestions or tips I’ve forgotten do leave me a comment below. I’d enjoy the feedback. 😄 Carol

I have found that I need to wash all fabric when I bring it in the house. Whatever chemicals they spray on the fabrics to keep the bugs away really irritate my lungs when I iron them. It also helps to eliminate the different shrinkage rates and the bleeding on a finished quilt problems. I have a lovely stash that I have built up in the 12 years I have been quilting, both of fabric and thread!! I love longarm quilting and I am very much a thread snob with what I use to quilt with. How about storage for all our goodies…fabric, thread, rulers, rotary cutters, mats, pins and pin cushions?? Any good hints there?
LikeLiked by 1 person
I agree about washing the fabric! Some of those chemicals are nasty!
I’m covering my storage tips in the next post. Any other suggestions?
LikeLiked by 1 person
How to prepare your quilt top and backing for a longarm quilter. How to give pattern and color change to fabric using big stitches – I just saw some quilts from QuiltCon and was blown away at what was done with big stitch quilting. The differences between batting, both by fiber and by brand…the loft they give and what each one is really good for. Using the dots on the selvage to choose colors that pop with a main fabric choice for a quilt.
LikeLiked by 1 person
Great suggestions. I don’t know about preparing quilts for a longarm we as I have never sent one out, but I can do some research or have a guest blogger 😁. I planned a post on using various markers, fabric dyes, etc to add to your designs, movement and texture on your quilt and will definitely add stitches, embroidery and embellishments to it. Batting is a great suggestion. I’ll have to d some research on that. Thanks, Susan for all he great ideas.
LikeLike